How to Install WordPress Localhost (4 Super Easy Steps) & Create a WordPress Localhost Website
Are you struggling with editing the dashboard of your WordPress website? Maybe you want to make a rough change in your site and see how that works without harming your main website in the process.
Well, good news! We have a solution for you. If you install WordPress on your localhost, you can have your very own WordPress playground. This is where you can try and use any feature, theme, or plugins to your heart’s content without risking your main site.
Why Install WordPress on Localhost?
WordPress is open-source software for making websites that are entirely free to use. Having this is like having the Genie of Aladdin, as it grants you the ability to create any website you wish! This is why, today, WordPress is powering 35% of the total websites online!
Nowadays, most WordPress developers have a localhost WordPress website of their own. It’s because the localhost gives you the access you need to test WordPress websites offline before updating the site online.
Suppose you’re trying out a new theme or plugin before applying it to your main website. With localhost, you can test all the new features of WordPress, or try out a total overhaul before going live with the changes. Moreover, a WordPress localhost website is a complete personal test drive system for any WordPress developer.
How to install WordPress on localhost?
WordPress isn’t the kind of software you can install in a few clicks. To install WordPress on localhost, you need a Database system and a server system to run. So there are a few steps to set up an environment before installing WordPress on the localhost.
We have made a super easy 4 step installation process for you to install WordPress on your localhost. Following this 4 step WordPress installation process, you can install WordPress on localhost very easily and comfortably.
Install XAMPP to Create the Environment:
In the localhost, your PC alone is your server, database, and website in a single place. To decrease this complication and hassle of installing different platform software, you need a cross-platform web server solution pack.
XAMPP and WAMP are the two prominent cross-platform server solution packs for MYSQL, PHP, Apache. WAMP is particularly for Windows, where XAMPP is open source and functions in all types of operating systems.
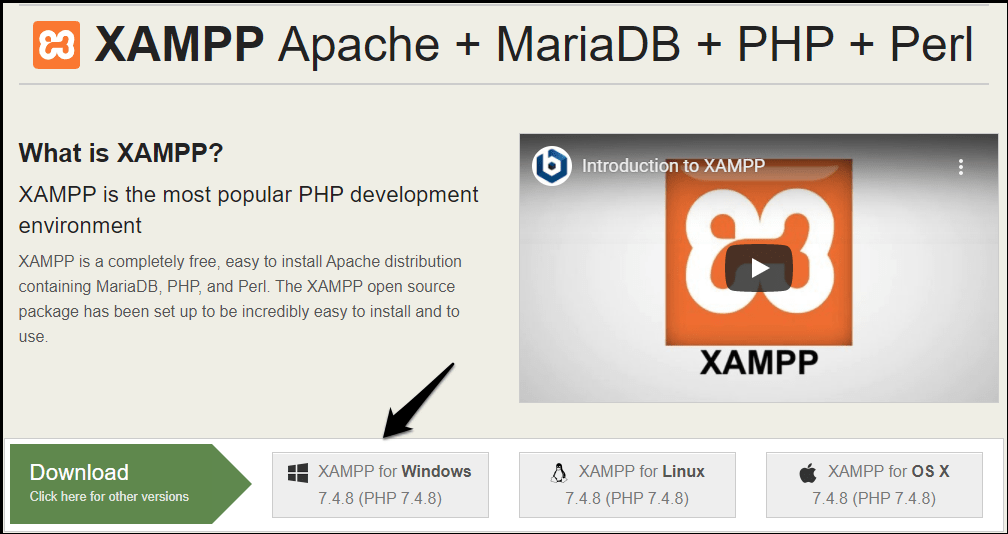
Considering multiple operating system support, we prefer to use XAMPP. In other words, this provides the most useful solution currently. You can download XAMPP from the link below.
Download Link: XAMPP

Installation WordPress on localhost in 4 Simple Steps:
We need to go through a few very simple steps to install WordPress on localhost and create a WordPress localhost website. One step after one will reduce the complexity and create a clear roadmap throughout the entire process.
Step 1: Download and Install XAMPP
Download link: XAMPP Download.
- Here, you’ll find different versions of XAMPP for different Operating systems. As you are a Windows user, click on XAMPP for Windows indicated by the blue pointer. It may take a few seconds/minutes, depending on your network connection.
Run the setup file and click Next.
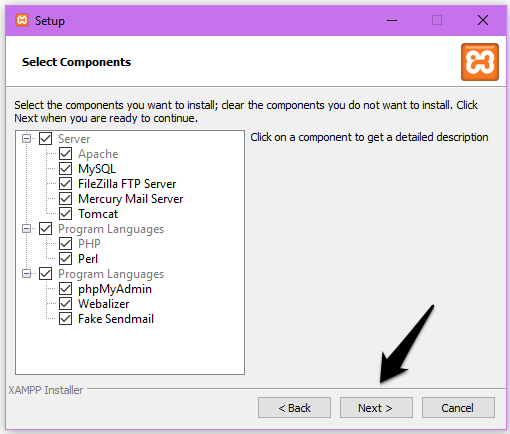
- There will be a listing box with language and server options. Select your choices and click Next. Apache & MySQL are our essential components. Just choosing these two will work out for you. But you can select all for future use.
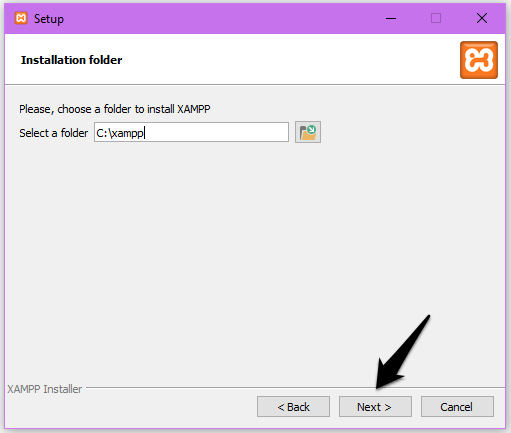
- Select your destination folder, where you want to install the software. We prefer the default, which is in C drive, but we leave that to your choice. Click on the Next Button to start the primary installation process.
Your Windows security might come up with an alert like this. Choose a network and click on the Allow Access button.
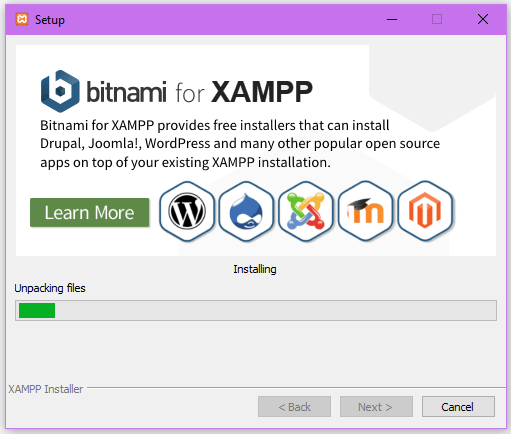
- If you see a language selection option, select your preferred language and click on the Save button. And Run the Installation Process.
When you see this page, the XAMPP installation is done! Click on the finish button.
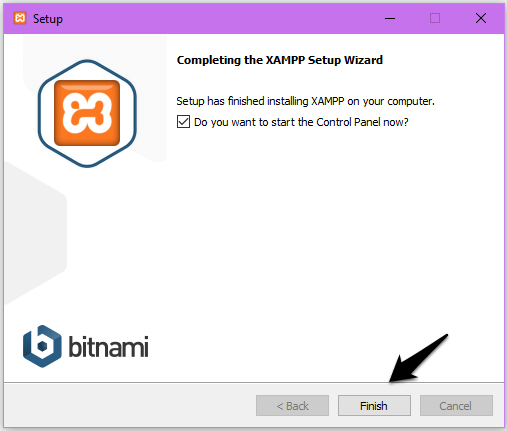
Wait until the XAMPP control panel appears on the screen. If not then, look for it in the destination folder where you have installed the software.
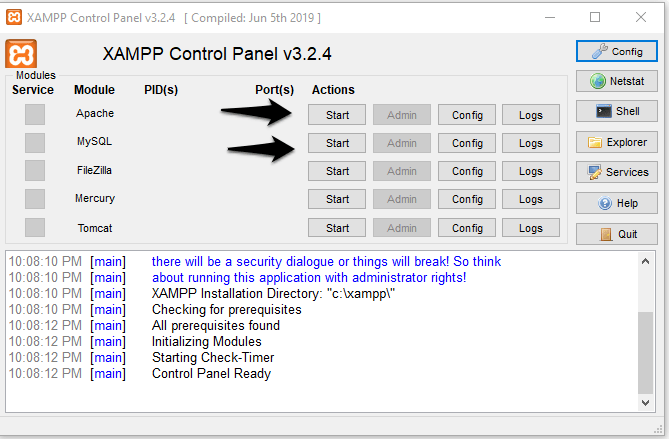
- Run the XAMPP control panel and click on the Start buttons for Apache and MySQL, as shown in the picture below.
Step 2: Download WordPress Latest Version
- Download WordPress Latest Version: Download WordPress
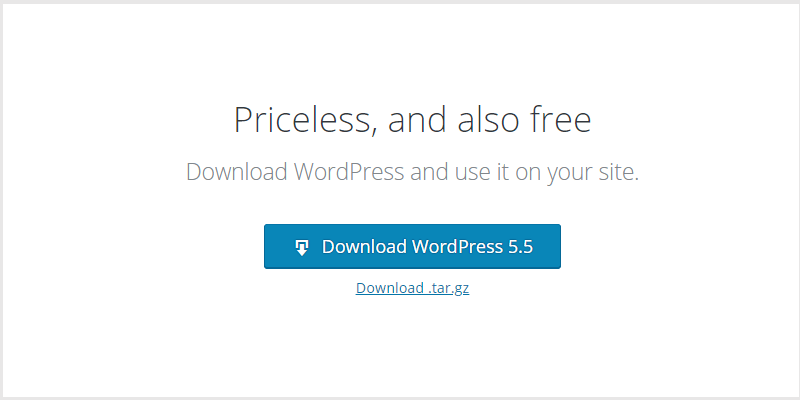
- Go to the link. Click on the download button and download WordPress in a zipped file.
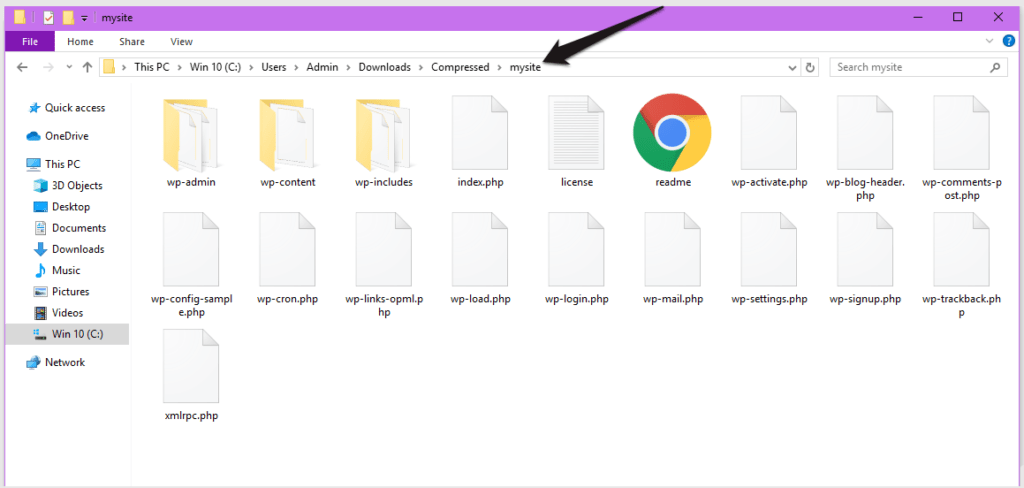
Unzip the downloaded file and name it as you want to name the database. Here, I am naming it Mysite.
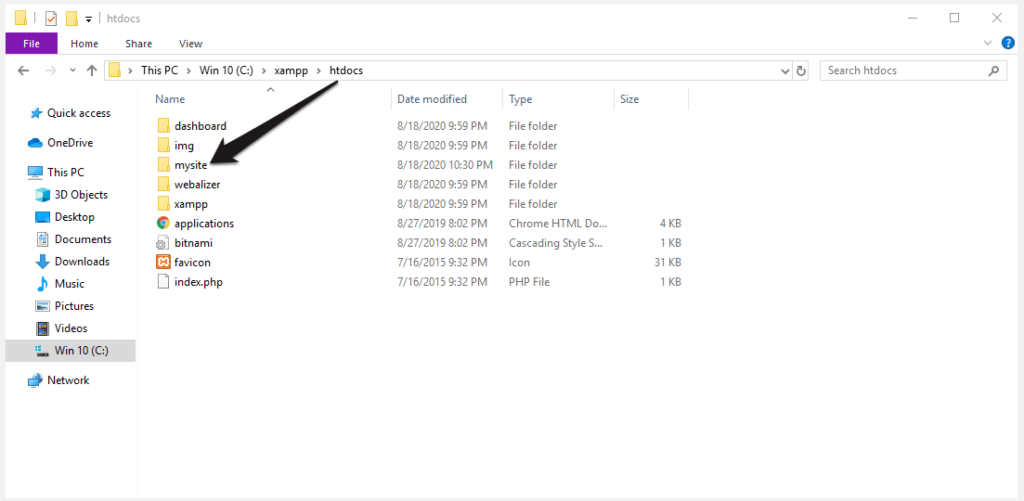
Navigate to C>XAMPP>htdocs.
That’s the installation location of XAMPP. Copy and paste the folder Mysite in the folder htdocs.
Step 3: Create the localhost Database
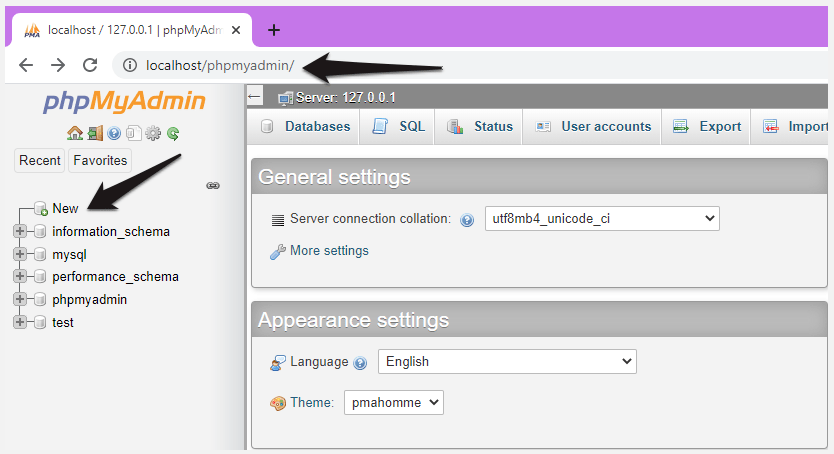
Open your web browser. Type localhost/phpmyadmin, and click enter.
- Click on the New button on the left sidebar. Input the name of the database.
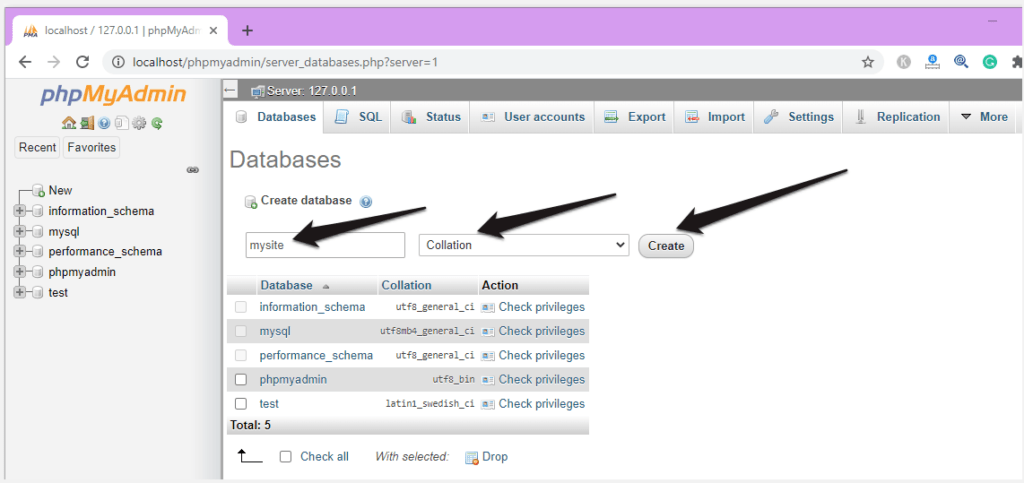
- Name the database as the same name you used in the WordPress folder. Mysite was the name we used for WordPress. Thus I’m also naming it Mysite. Select Collation from the list and press the Create button to create the database.
Step 4: WordPress Installation and Website Creation
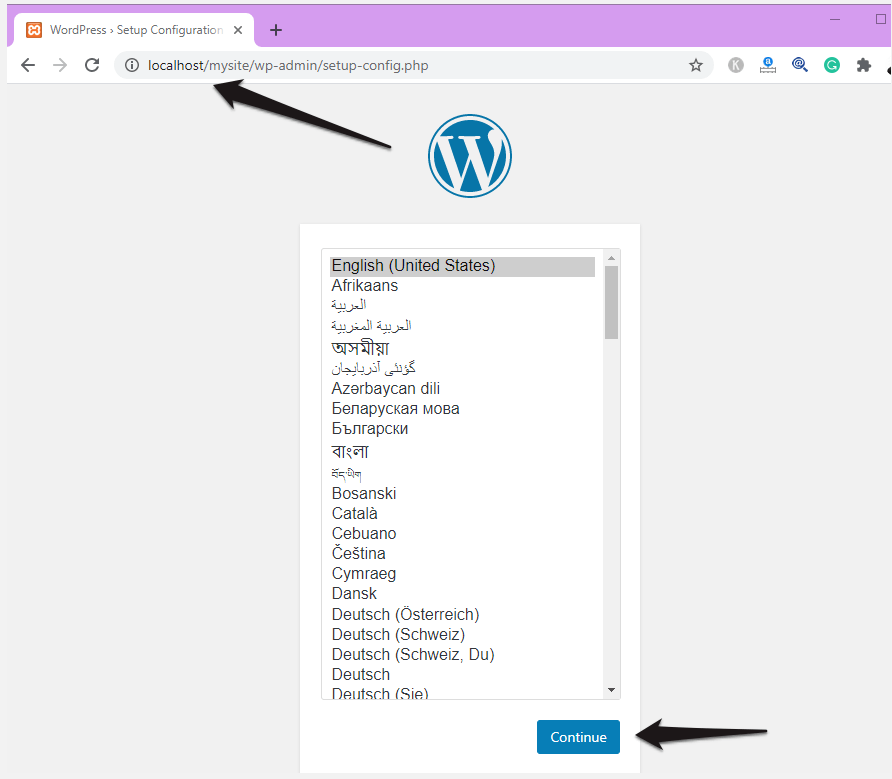
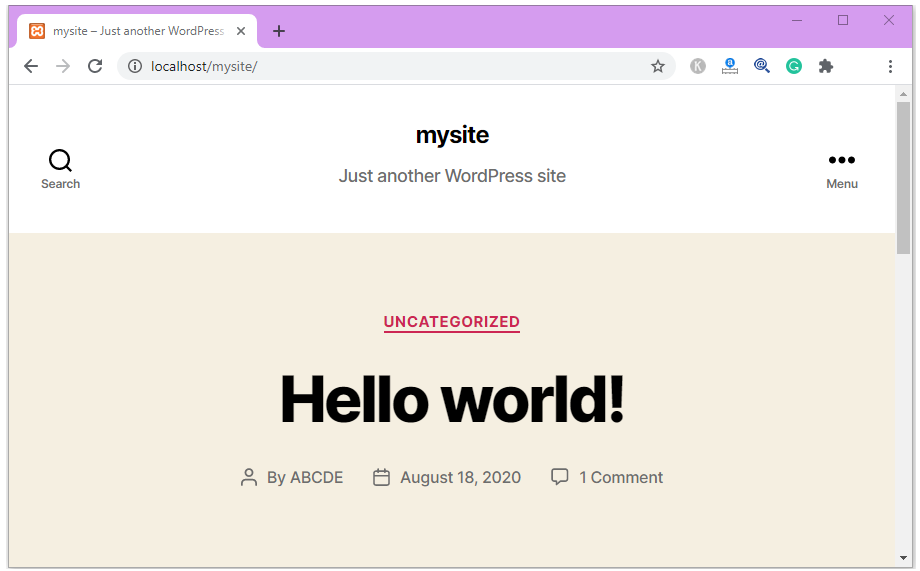
Open your web browser, type localhost/mysite on the address bar.
This is the beginning of the WordPress installation.
- Select your preferred language.
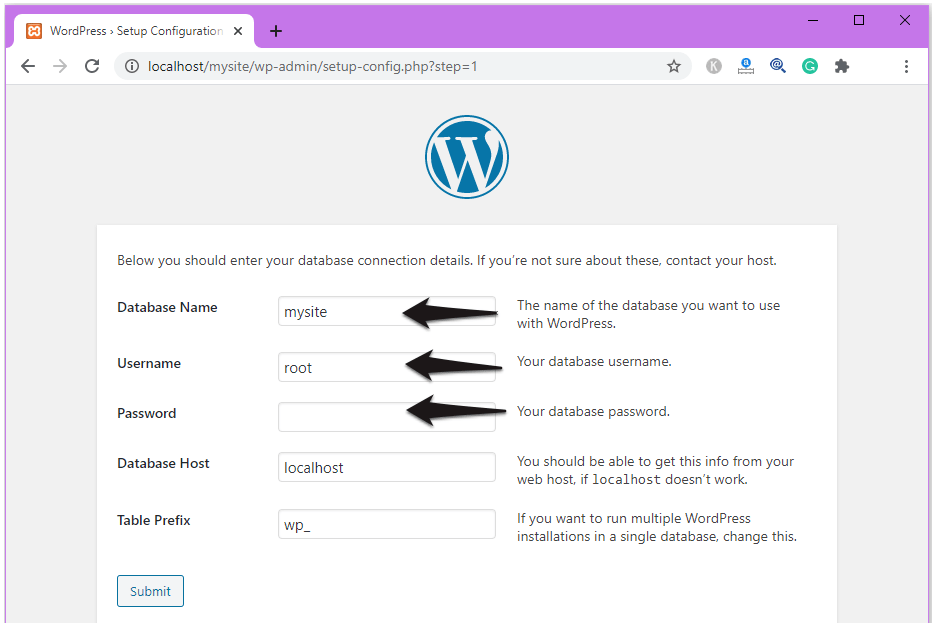
In the next window, you’ll get a few fields to fill up.
- Database Name: Mysite ( Keep it same as the Server name )
- Username: root
- Password: Keep this field empty.
Click Submit.
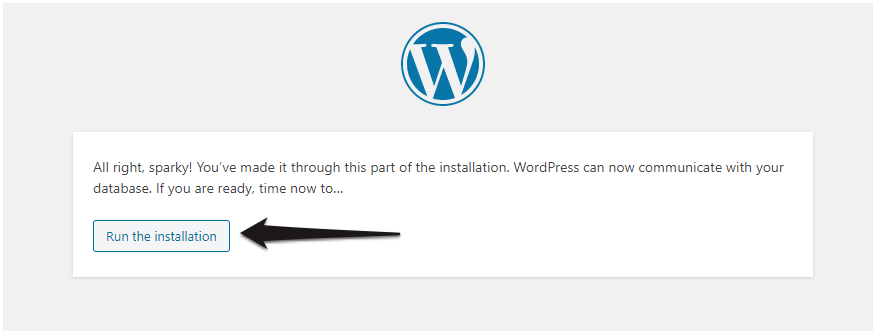
- You’ll find the Run Installation button. Click to begin the installation.
Input the name of your WordPress localhost website.
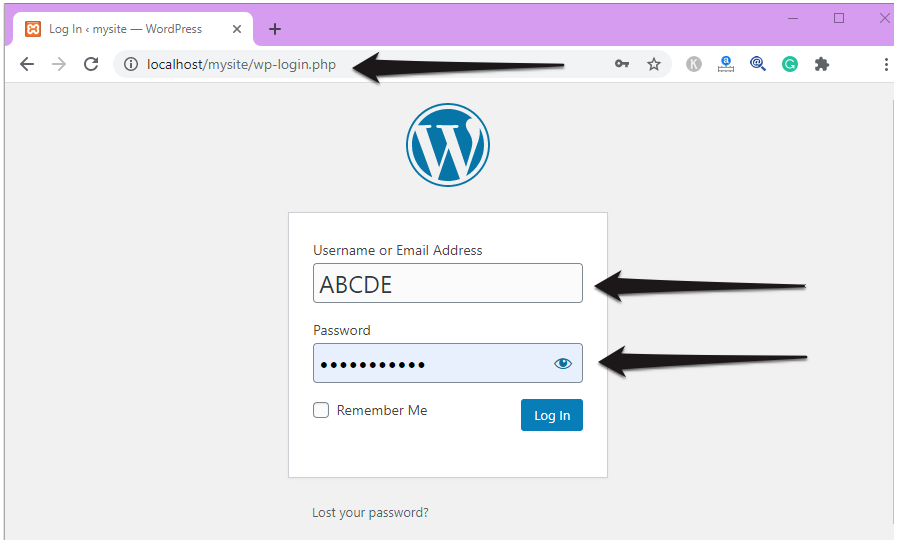
- Choose your preferred Username and Password for WordPress.
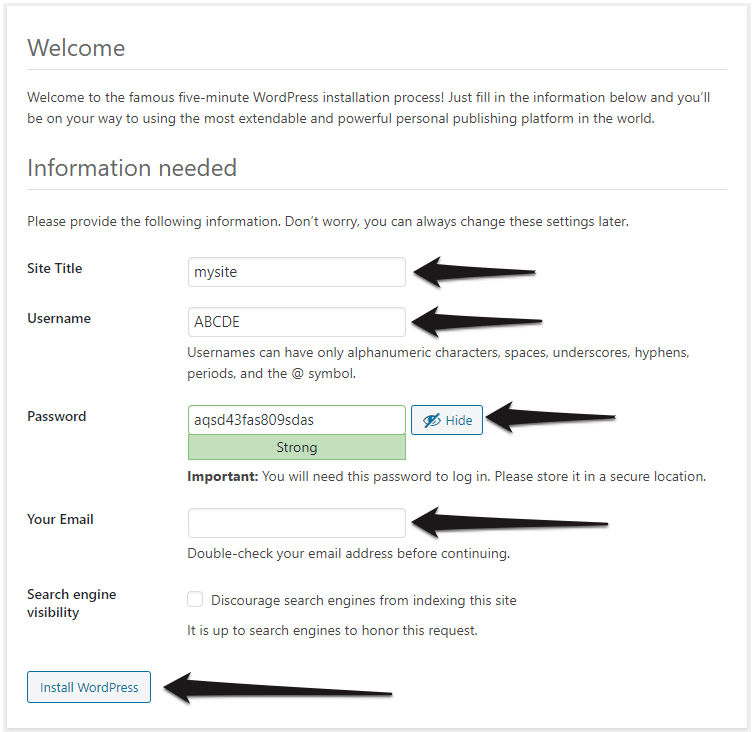
Lastly, click on the Install WordPress button. And it’s done!
You have successfully installed WordPress on localhost and created a localhost WordPress website.
- To visit your localhost website write localhost/mysite
- And to log in to your localhost website, write localhost/mysite/wp-admin on your web browser’s address bar.
Bottom line:
There are plenty of instructional blogs for WordPress users to install WordPress on locals and create a localhost website. However, most of them are rather complex to follow or are downright boring. Hence, I have come up with this blog.
Moreover, some users might find it more tedious than others, as there are quite a few things to do in a specific order. It’s natural because all minds are not trained the same. I tried to note down the shortest path possible, considering all the fundamental features. I wanted to make this instruction informative yet easy to follow.
What do you think about this instructional blog? If you think that we need to make it more detailed just inform us in the comment. We will keep your ideas in mind while we upgrade this.
Most advanced Settings Panel in WordPress Post Grid Plugin: Guten Post Layout Pro